Physical Address
304 North Cardinal St.
Dorchester Center, MA 02124
Physical Address
304 North Cardinal St.
Dorchester Center, MA 02124
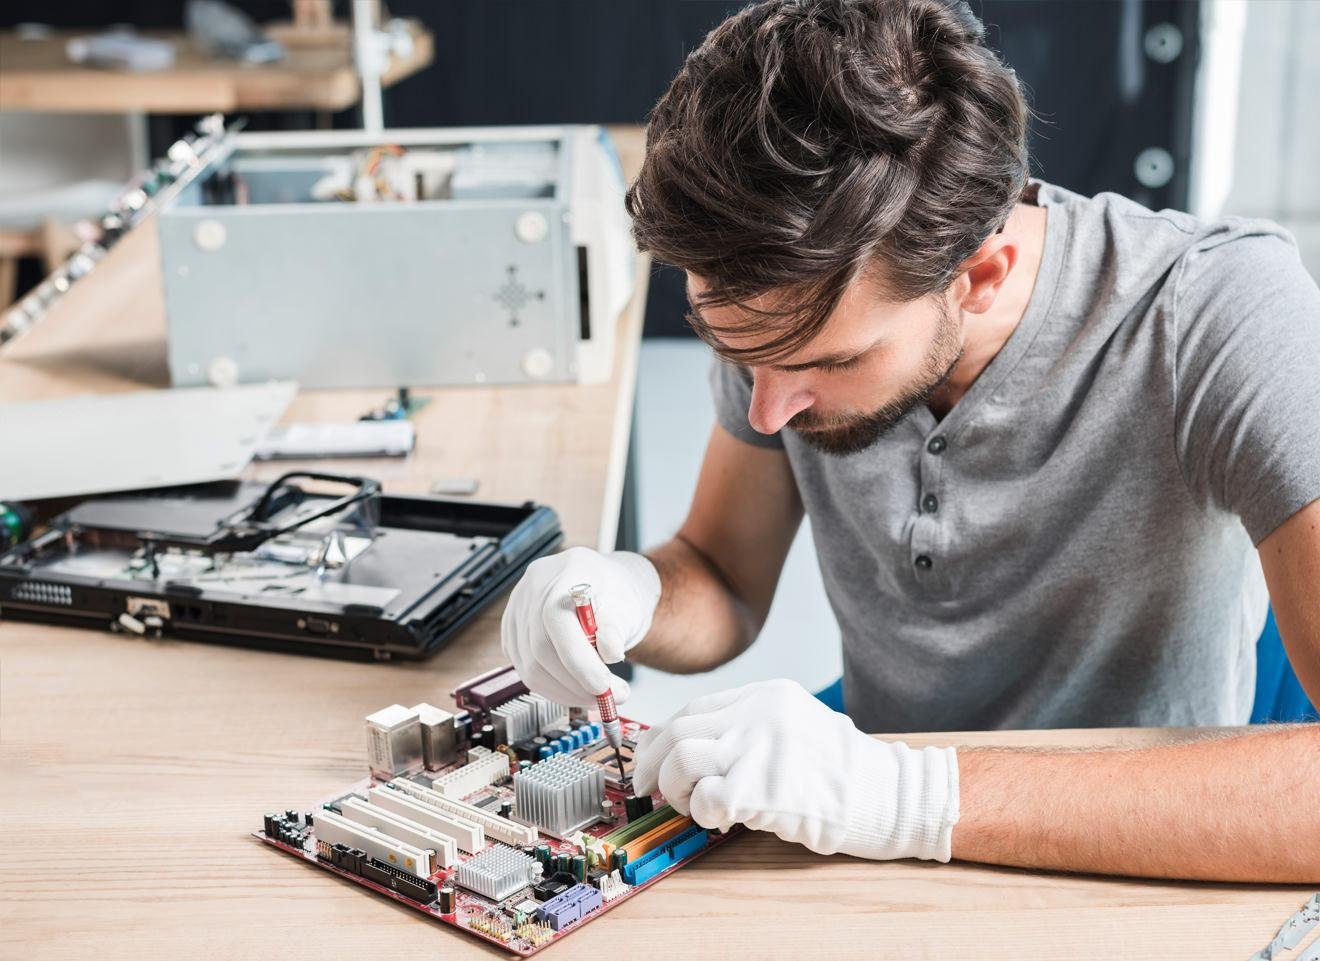
Learning how to update CPU drivers in Windows is one of the easiest ways to fix crashes, stuttering and high CPU usage — the chipset driver is the software that lets Windows talk to your processor properly, and an old one can cause all sorts of strange problems.
Strictly speaking, your CPU does not have a driver the way a graphics card does. What it has is a chipset driver — the software for the motherboard chipset that manages the connection between the CPU, the RAM, the storage and the USB ports. When people say “CPU driver”, they usually mean this chipset driver, and keeping it updated matters. Our how to check CPU compatibility guide explains how the CPU and the chipset work together, and our CPU benchmarks explained guide shows how to test performance after an update.
The easiest way is Windows Update. Open Settings, go to Windows Update and click Check for updates — Windows will download the latest chipset and processor drivers it knows about, and install them when you restart. This is the safest method, because Microsoft only offers drivers that have been tested. If you are seeing high usage after an update, our how to fix high CPU usage in Windows guide can help, and our why is my CPU at 100% usage guide covers the deeper causes.
For a specific device, open Device Manager, expand Processors, right-click your CPU and choose Update driver, then Search automatically for drivers. This works well for a fresh install where Windows is using a generic driver. Do the same under System devices for the chipset. If Windows says you already have the best driver but you know a newer one exists, move on to method 3 — Windows is often a few versions behind.
The best method is to get the chipset driver straight from the source: AMD’s website for Ryzen chips, or Intel’s website for Core and Core Ultra chips. Download the chipset driver for your motherboard’s chipset — for example B650 for AM5, or Z790 for LGA1700 — run the installer and restart. This is the version the chip maker recommends, and it is newer than the one Windows Update offers. Our AM5 BIOS update guide explains why keeping the board software current matters, and our how to monitor CPU temperature guide shows you how to check the chip is healthy after the update.
If the PC acts up after a driver update — crashes, blue screens or devices that stop working — roll the driver back. Open Device Manager, right-click the device, choose Properties, go to the Driver tab and click Roll Back Driver. If that is greyed out, uninstall the driver and restart, and Windows will reinstall the last good version. Never download drivers from random driver-updater websites — they are a common source of malware. Stick to Windows Update, AMD or Intel. If the PC will not boot at all, see our CPU not detected guide and our how to install a CPU guide.
To update CPU drivers in Windows, start with Windows Update, then check Device Manager, and for the best result, install the chipset driver from AMD or Intel. It takes five minutes, it is free, and it fixes more problems than most people expect. For more help, browse our troubleshooting tips and our CPU benchmarks guides to test your chip after the update.
Tip: check for a new chipset driver every few months, especially after a big Windows update or when you install a new CPU. It only takes a minute, and it keeps your PC running smoothly.