Physical Address
304 North Cardinal St.
Dorchester Center, MA 02124
Physical Address
304 North Cardinal St.
Dorchester Center, MA 02124
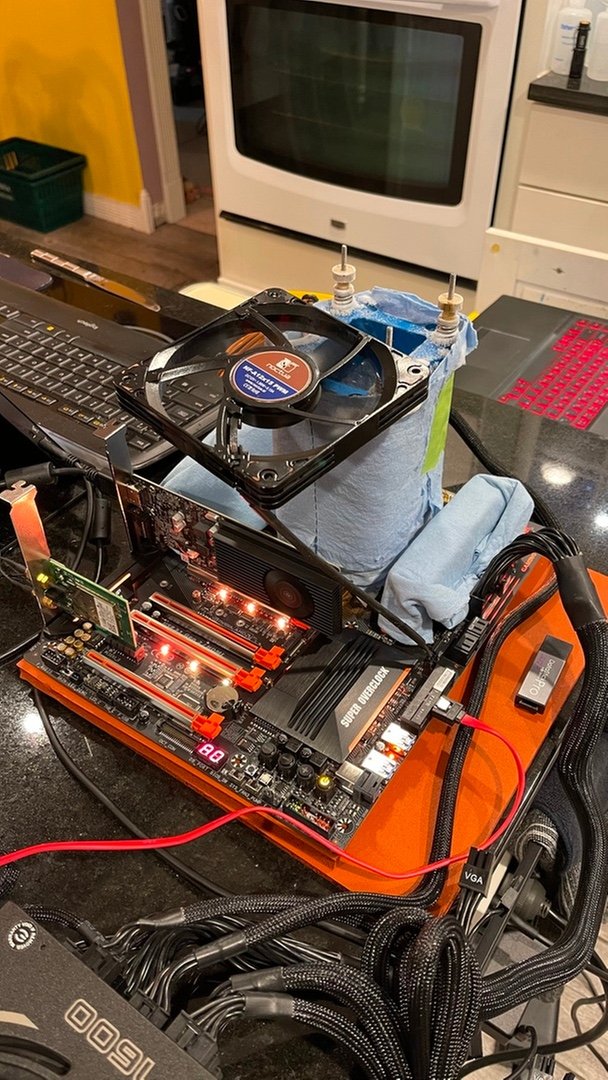
Knowing how to overclock your CPU safely turns a scary-sounding BIOS tweak into a simple, repeatable process — test in small steps, watch the temperature, and never change two things at once. Follow the steps below and you will get the extra speed without the crashes.
First, measure your baseline. Run a benchmark and write down the score and the temperature, so you know what “normal” looks like and how much you actually gained. Our best CPU benchmark software guide lists the tools to use, and our how to benchmark your CPU guide shows you how to run them. Also write down your stock settings, or take a photo of the BIOS screen — our overclocking basics guide explains why that safety net matters.
Restart into the BIOS and find the CPU multiplier. Raise it by a small amount — one or two steps, which is usually 100–200 MHz. Save and boot into Windows. That is your first overclock, and it will probably just work. Chips with unlocked multipliers, such as the Core i5-14600K, make this easy; locked chips do not, so check that your chip is unlocked before you start.
Run a stress test for 10–15 minutes and watch the temperature the whole time. If the PC is stable and the temperature stays in a safe range — under about 85°C under full load for most chips — you have a working overclock. If it crashes or gets too hot, go back to the BIOS and step down. Our CPU benchmarks explained guide shows you how to read the results, and our cooling guides will help if heat is the problem.
When a higher speed becomes unstable, a tiny voltage increase can fix it — but voltage is what creates heat and wear, so add as little as possible, in the smallest steps your BIOS allows. Never jump to a high voltage in one go. If you need a large voltage increase for a small speed gain, the chip has reached its limit, and it is time to stop. Our how to compare CPUs using benchmarks guide uses the same idea: a 5% speed gain that needs 20% more voltage is not worth it.
A 15-minute test is not enough. Once you think you have a stable overclock, use the PC normally for a day — play games, do your work, and run a longer stress test overnight. A crash in a game a day later means the overclock was never really stable. Our CPU benchmarks for gaming guide shows which real-world tests matter most, and a Ryzen 7 7700X at stock speed is a good reminder that stability beats a few extra megahertz.
Overclocking safely is a patient process: small steps, test each one, watch the temperature, and stop when the gains get small. Most chips have a modest free overclock in them, and the method above will find it without drama. Read our how long a desktop CPU lasts guide for what heat does over time, and browse our overclocking guides for the next steps.
One more thing to check after you finish: your idle temperature. A good overclock should leave idle temperatures almost unchanged — if idle temps jumped by 10°C or more, something is wrong, usually a voltage setting that is much higher than it needs to be. Fix the voltage first, then worry about the speed.